In this example we are going to see how you can upload a File to a server using a JAX-RS REST Service using Jersey. Uploading a File using Jersey is fairly easy, as it uses all the HTTP infrastructure for file upload operations.
In this example we are going to use an HTML Form that has one input field of type . When the HTTP POST request is constructed, it will contain a media type of . The media-type follows the rules of all multipart MIME data streams. contains a number of parts, corresponding to the input parameters of the form. Each part contains a header where the disposition type is . The disposition, also contains a “” parameter, the value of which is the input field name in the HTML form and can be used to obtain this header in our service. Other headers like are usually included as well. For example, a part might contain a header like this:
In our case, parsing this header we will enable us to obtain the original name of the file the user selected to upload (the parameter of the above header). Luckily, Jersey provides all the necessary infrastructure to do that. Following the headers is the the actual value of the part, as expected.
In this example we are not going to focus on how to create JAX-RS application from top to bottom. So make sure you read carefully Jersey Hello World Example and pay attention to the sections concerning the creation of the project with Eclipse IDE as well as the deployment of the project in Tomcat.
You can create your own project following the instructions on Jersey Hello World Example. But you can also download the Eclipse project of this tutorial here : JAXRS-HelloWorld.zip, and build your code on top of that.
1. Project structure
For this example, I’ve created a new Project called ““. You can see the final structure of the project in the image below:
The code presented in this new tutorial will only concern file.
At this point you can also take a look at the file to see how the project is configured:
web.xml:
As you can see our servlet is mapped to URI pattern. So the basic structure of the URIs to reach the REST Services used in this example will have the form :
2. Jersey Multipart dependencies
In order to use all the classes that Jersey offers for multipart media manipulation you have to include to your project dependencies. To resolve this, open and paste the following code:
pom.xml:
3. HTML Upload Form
This is of course to host a simple HTML form to demonstrate the use of file uploading. Go to the Package Explorer, Right Click on the project -> New -> HTML File. The new file will be created in the folder.
form.html:
4. Upload REST Service
Let’s see the code of the JAX-RS REST Service and then discuss the important points.
JerseyFileUpload.java:
Let’s discuss the above code in detail:
- The annotation is used to specify which media types a service can consume from the client. In our case it’s .
- binds the named body part of a request entity to a method parameter. The type of the annotated parameter can be a class that is able to read that particular media type. In this example, the server consumes a request entity body that contains one body part, named , which is of course the uploaded file. The value of the part will be handled by an .
- Additional information about the file from the “” header are injected to parameter of type , which is simply a representation of the Header. In this case we can obtain the original name of the uploaded file. To give you an example of how works in a multipart form, here is a request when uploading and image:
POST Request:
5. Run the code
After deploying your service, open a browser and go to the form URL.
form_URI:
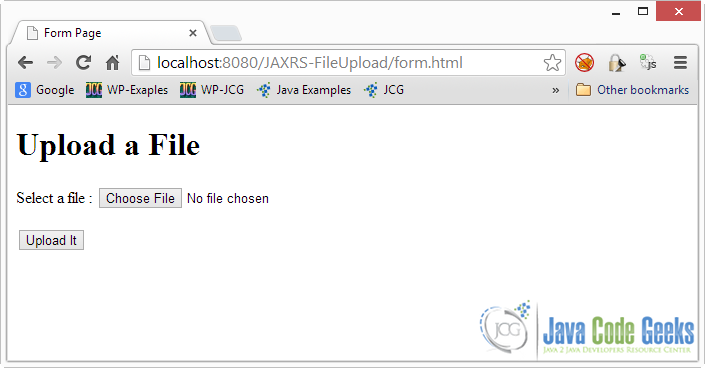
Here it is on the browser:
If you press “Choose File” a file selection dialogue will pop up. I’ve randomly selected an image from my Desktop.
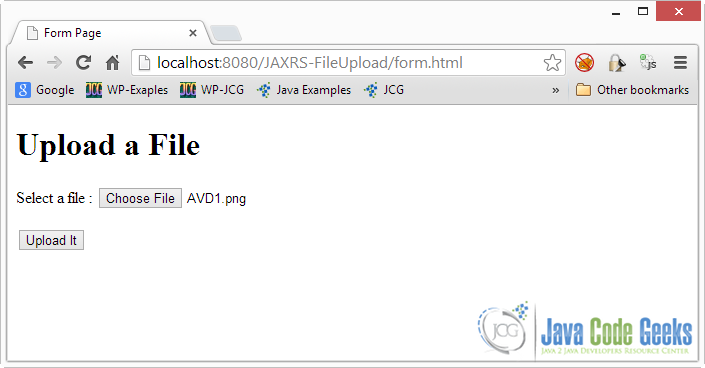
Click “Open” and you are ready to submit the form. You can see the original name of the file:
When you click submit, as a result you will see the path of the uploaded file on the server:
6. Using FormDataMultiPart
You can also use the FormDataMultiPart class, that simply represents the HTML form and its parts. As you will see it is very convenient when used in a form with a big number of multipart fields. Packing them all in one Object means that you don’t have to define a lot of arguments in your method, plus you will be able to handle fields with arbitrary names etc. Let’s see how you can use it :
JerseyFileUpload.java:
As you can see we define a argument for method. Then, we use API method of class to obtain a instance that simply represents a body part of the form. In our case we choose the part named . You can then call API method of class to get a instance (that obviously represents a header). Next you can call API method of class to read the value of that particular form field. You can also choose a suitable reader for that type of media. We choose .
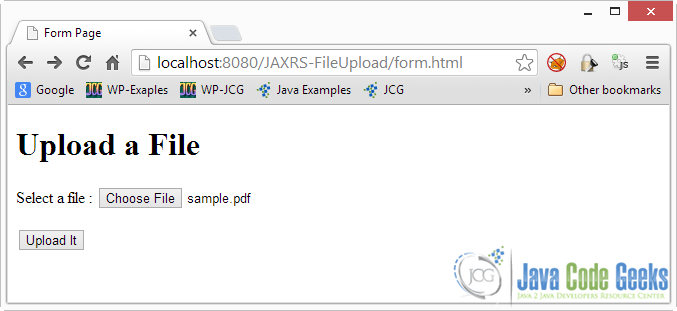
Let’s run it. Here is the upload form:
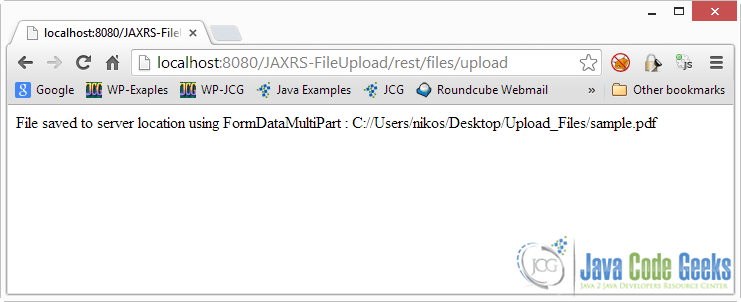
And when you hit “Upload It”:
Notes
It is important to note that you should be careful when using Content-Disposition headers as they suffer from several security pitfalls, many of which can be found on it’s original documentation. Furthermore some browsers do not implement correctly the demonstrated functionality, because they pass the full path of the uploaded file as the . This is the case with Internet Explorer. Instead of , you could get the full file path of the image : . But, because ‘\’ should be escaped in HTTP/1.1 requests, the file name you’ll get in your service will be , which is a total mess. That is not an easy problem to overcome. One solution you can use is read the file path using Javascript and then either parse the file path to obtain the name, or send the name with the slashes as a hidden parameter. Having said that, it might not be very important for your application to store the file to the server using the original file name, not to mention that sometimes this is absolutely wrong and dangerous.
Donwload The Eclipse Project
This was an example on how to upload files to a server using JAX-RS with Jersey. Download the Eclipse project of this example : JAXRS-FileUpload.zip, JAXRS-UsingFormData.zip
'개발 > Programming' 카테고리의 다른 글
| Spring @Value default value (0) | 2017.06.07 |
|---|---|
| jstack 그리고 jconsole - JVM Stack Trace 얻기 (0) | 2017.06.07 |
| Spring + java.servlet.Filter (0) | 2017.05.31 |
| CORS 크로스 도메인 이슈 (No 'Access-Control-Allow-Origin' header is present on the requested resource) (0) | 2017.05.30 |
| HAProxy로 로드밸런싱 (0) | 2017.05.16 |


